For gaming enthusiasts who love to express their passion through fashion, creating your own game-themed apparel offers a unique and personal way to showcase your favorite titles. Whether you’re skilled with a needle and thread or just starting your DIY journey, these tutorials and ideas will guide you in crafting your very own gamer gear, from screen printing your favorite game logos to embroidering iconic game symbols onto your clothes. Let’s dive into the world of DIY game-inspired fashion and turn your wardrobe into a tribute to the games you love.
Screen Printing 101: Game Logos and Art
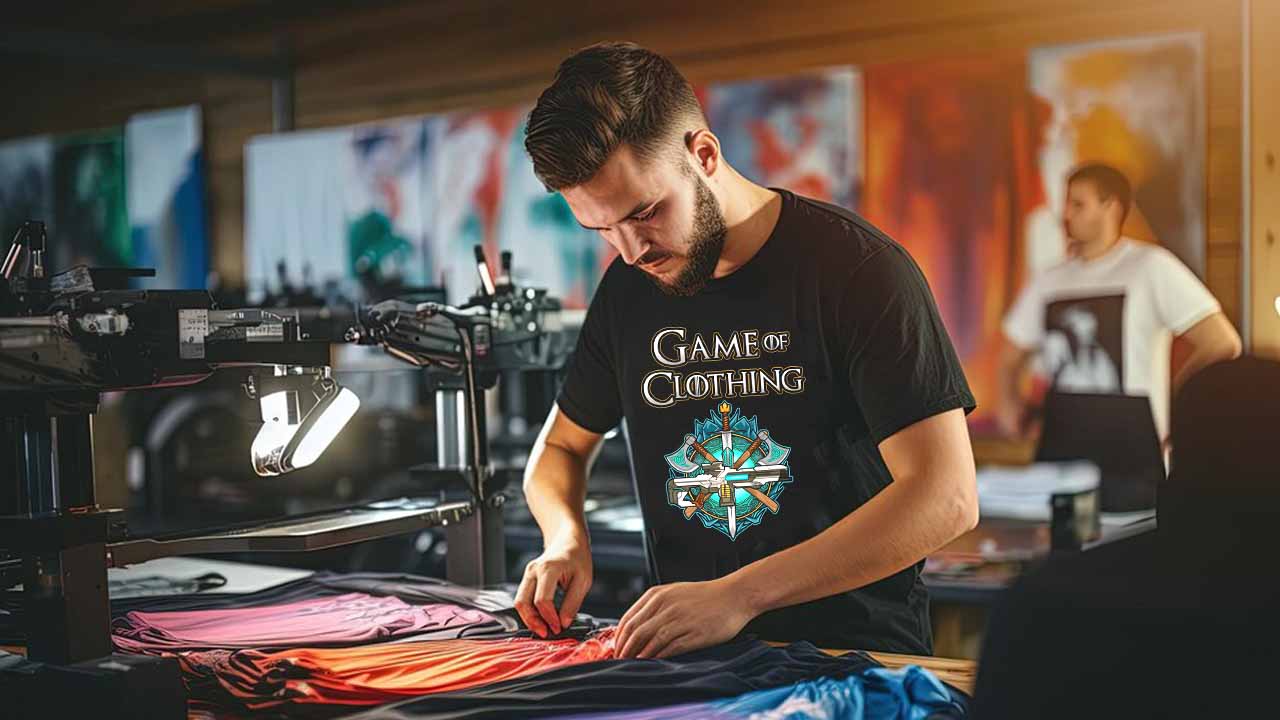
Screen printing is a fantastic way to transfer detailed game art and logos onto T-shirts, hoodies, and tote bags. Here’s a simple way to start:
- Materials: You’ll need a screen printing frame, photo emulsion, a squeegee, screen printing ink, a piece of transparent acetate, and a black marker or printed design.
- Design: Draw or print your game-inspired design onto the acetate. Bold, simple designs work best for beginners.
- Prepare the Screen: Apply the photo emulsion to the screen and let it dry in a dark room. Once dry, place the acetate on the screen and expose it to bright light. The areas covered by your design will remain uncured.
- Wash the Screen: After exposure, wash the screen under cold water. The uncured emulsion will wash away, leaving your design as a stencil.
- Print: Place the screen on your fabric, apply ink across the top, and use the squeegee to drag the ink across the stencil. Lift the screen, and voilà, your design is printed!
Embroidery Adventures: Icons and Characters
Embroidery can add a rich, textured look to any piece of clothing, perfect for game symbols, character portraits, or scenic landscapes from your favorite games.
- Materials: You’ll need embroidery hoops, fabric, embroidery needles, and threads in various colors.
- Design: Sketch your design directly onto the fabric with a pencil or use transfer paper to trace your design onto the fabric.
- Embroider: Stretch the fabric in the hoop and start embroidering, using different stitches to bring your design to life. Basic stitches like the running stitch, backstitch, and satin stitch are great for beginners.
- Finishing Touches: Once your embroidery is complete, remove it from the hoop, iron out any wrinkles, and sew or attach it to your garment of choice.
Pixel Art Patches: Iron-On Magic
Create pixel art patches using fusible beads for a fun and easy way to add 8-bit flair to bags, jackets, and hats.
- Materials: You’ll need fusible beads (like Perler beads), a pegboard, ironing paper, and an iron.
- Design: Arrange your beads on the pegboard to create your pixelated design. Think simple characters or symbols for a start.
- Fuse: Cover your design with ironing paper and gently iron over it until the beads start to melt and fuse together.
- Attach: Once cool, you can sew your pixel patch onto your garment or use fabric glue for a no-sew option.
Customized Kicks: Painted Game Scenes
Transform plain sneakers into wearable art with hand-painted designs inspired by the landscapes and scenes from your favorite games.
- Materials: You’ll need acrylic paints, brushes, and a pair of canvas sneakers.
- Prep: Clean your sneakers to remove any dirt or oils. Sketch your design lightly with a pencil.
- Paint: Begin painting your design, starting with larger blocks of color and adding details as you go. Use a fine brush for intricate parts of your design.
- Seal: Once the paint is dry, apply a clear acrylic sealer to protect your artwork from wear and tear.
Conclusion: Your Wardrobe, Your Canvas
Creating your own game-inspired apparel is not just a way to pay homage to your favorite games. It’s an opportunity to express your creativity and personal style. Whether you’re screen printing, embroidering, crafting patches, or painting. Each piece you create is a unique testament to your love for gaming. So, gather your materials, unleash your creativity, and let your wardrobe become a canvas for your gaming passion.

